


Create a group
1
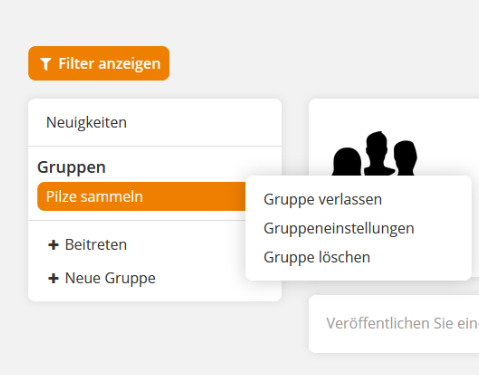
In the left area, select + New group to establish a new group.
2
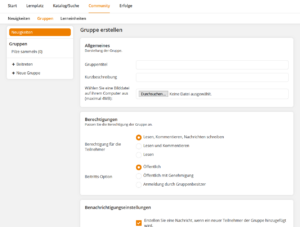
Give your group a meaningful title and description.
3
If required, select an Image file according to the specifications (minimum size 210 pixels x 210 pixels and maximum 4 MB).
4
Set the permissions for the participants using the corresponding selection button. The following Joining options are available:
Public
Public with approval
Registered by the owner
5
Select the Notification settings and specify which group should display an Opening message for the new group. An Opening message can be sent to the whole client as well as to selected groups. It includes the author of the Opening message and the Title of the new group, as well as the Date and time of the group establishment.
6
Click Establish new group. The created group and a confirmation message will appear.
7
If necessary, add participants by clicking the Participant link.
By clicking the gear icon you can change the group settings later.